Media Object and Media Object List Pane
The Media Object pane type allows you to display a left or right-aligned image alongside a title, label, text, and link. The Media Object can be used in a list format to allow for an unlimited number of Media Objects beneath a title – the Media Object List.

- Under the YOUR SITE - Site Administration dropdown, hover over Add new pane and select either Media Object or Media Object List to create a new pane.
- Note: The primary difference between the two is that the Media Object List lets you add multiple Media Objects, which are then displayed beneath a title, while the Media Object is a single, non-repeatable element.
- Add a Title. The title will not be displayed on the Media Object; the Media Object List will display this title above the first object in the list.
- Optionally, add a short Label to give further context to the Media Object.
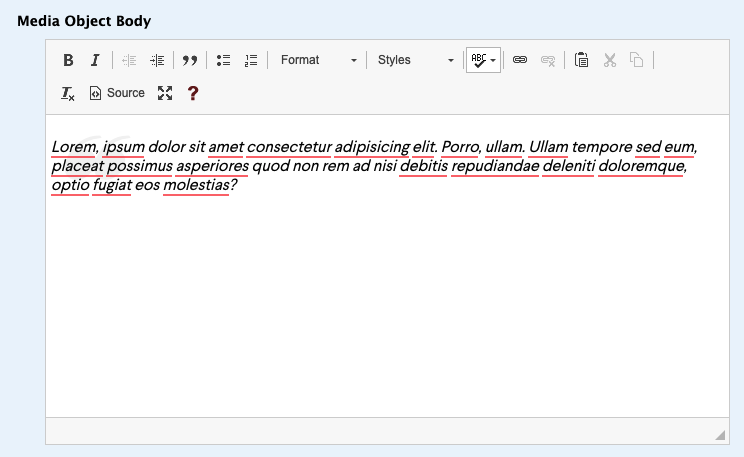
- Add Body text that will make up the primary text for the object. Optionally, you may select a Template for the body copy. Selecting an option will automatically insert boilerplate text that you can replace with your own. Options currently include:
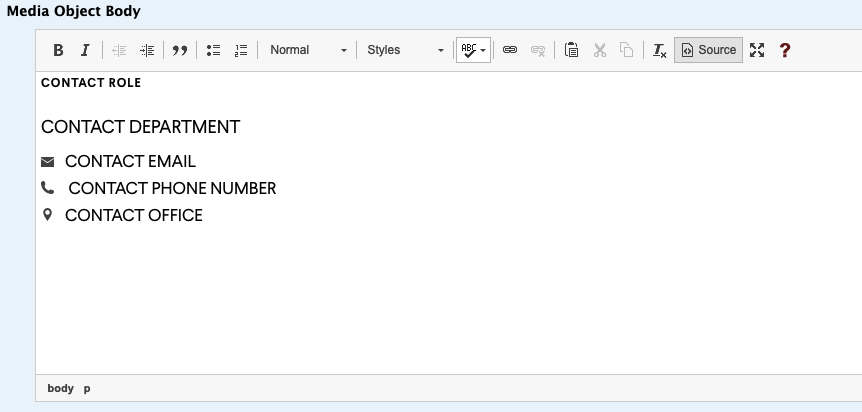
- Contact Information Template
- Testimonial (Quote) Template
Deleting body templates
If you no longer want to include one of the provided templates (e.g., Contact Information Template or Testimonial (Quote) Template), you will need to delete some hidden markup that helps with the formatting of these templates. To safely delete the templates:
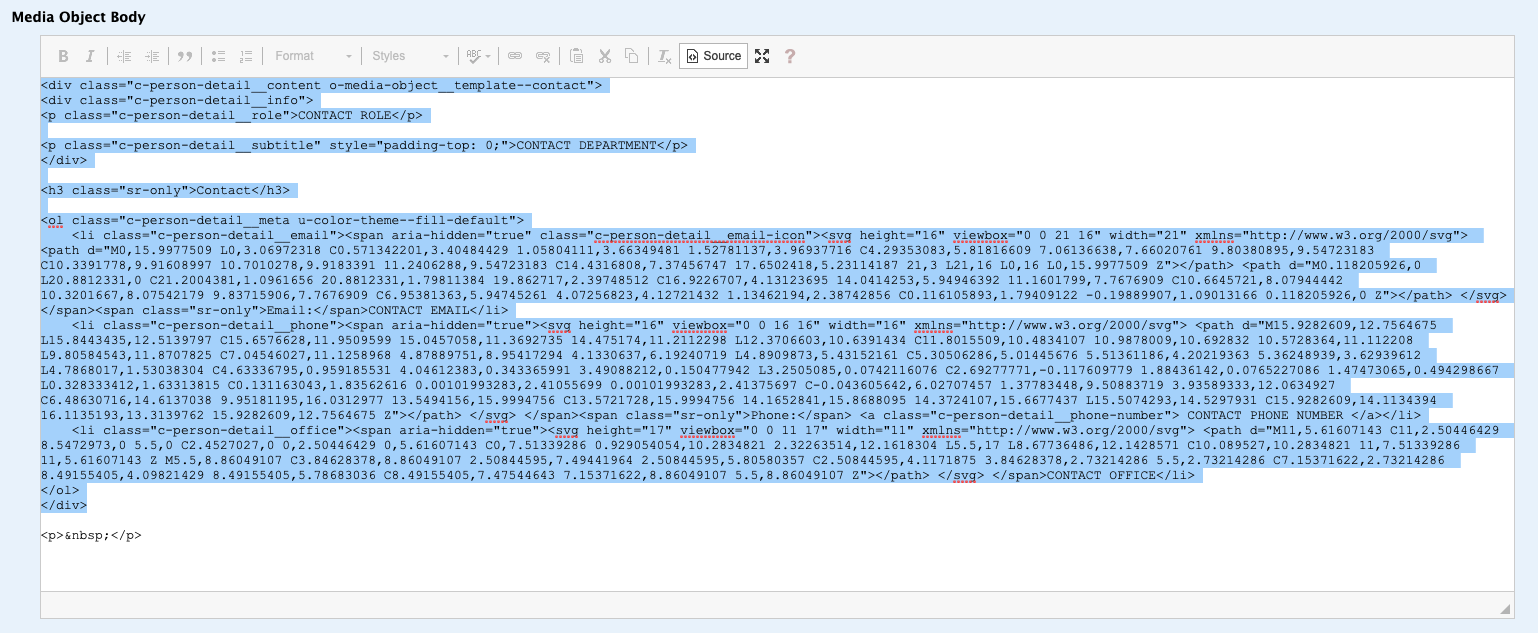
- Click Source on the Editor panel for the Body field. This will reveal the markup for the chosen template.
- When removing a Contact Information Template, highlight everything that begins with
<div class="c-person-detail__content">and ends with</div>. When removing a Testimonial (Quote) Template, highlight everything that begins with<blockquote class="o-media-object__template–quote">and ends with</blockquote>. Press the delete key to remove the markup.
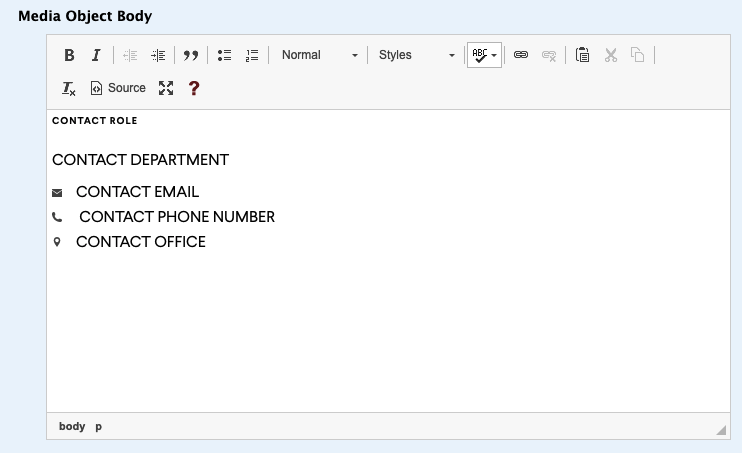
- Click Source again to close this view and see the update body editor. You should now have a successfully removed the hidden markup from the template.
- Contact Information Template
- Add the Image. If after previewing your pane you notice that your image looks grainy or pixelated, try uploading a higher quality version.
- If your image has already been uploaded to the system:
- Click the File Browser tab to launch the browser pop-up window.
- Navigate to the file, clicking on the title to select it.
- Double click the title or use the Insert file button in the upper left.
- Enter Alternate text describing the contents of the image (used by screen readers, search engines, or when the image cannot be loaded).
- If your image has already been uploaded to the system:
- If you've added an image, select whether the image should be left or right-aligned under Media Object Layout
- Optionally, add a Call to Action Link. This will inherit the standard Call to Action formatting.
- If you're creating a Media Object List, click Add another item to add additional objects. This button will not appear for the single Media Object pane type.
Ways you can contact ITS or find information:
ITS Support Portal: https://support.swarthmore.edu
Email: support@swarthmore.edu
Phone: x4357 (HELP) or 610-328-8513
Check out our remote resources at https://swatkb.atlassian.net/wiki/spaces/remote/overview
Check our homepage at https://swarthmore.edu/its